Installation
Get the plugin
CommandRunner is sold in two places. Pick whichever you prefer.
Option 1: Roblox Marketplace
- Purchase from the Roblox Marketplace listing for CommandRunner
- In Studio, open the Toolbox (View → Toolbox), switch to the Inventory tab, then My Plugins.
- Click CommandRunner to open its detail panel, then click Install.

Option 2: itch.io
- Buy and download CommandRunner from gvistic.itch.io/commandrunner. You'll get an
.rbxmxfile. - In Studio, go to Plugins → Plugins Folder to open your local plugins directory.
- Drop
CommandRunner.rbxmxfile into that folder. - Restart Studio so it picks up the new plugin.
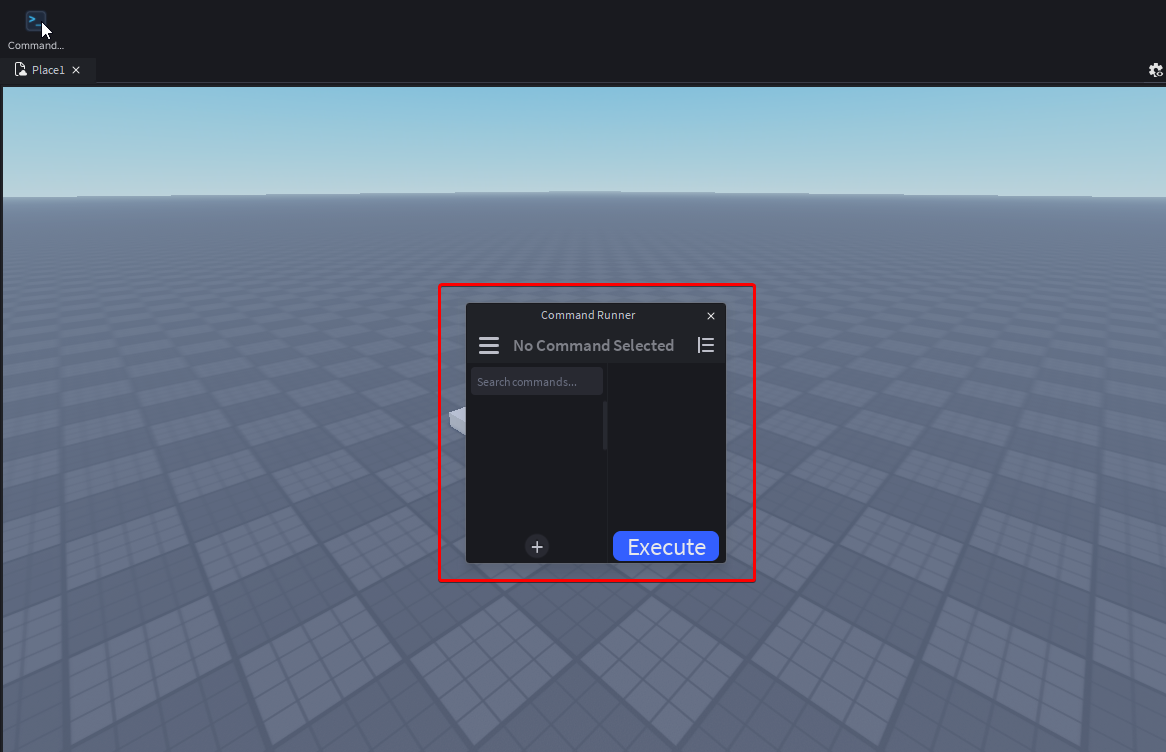
Open the widget
After install, a single CommandRunner button appears in the Plugins tab of the Studio toolbar.

Click it once. A dock widget opens. The first time you do this, CommandRunner automatically creates a folder ServerStorage.CommandRunnerScripts if none exist. That's where your command ModuleScripts or commands will live.
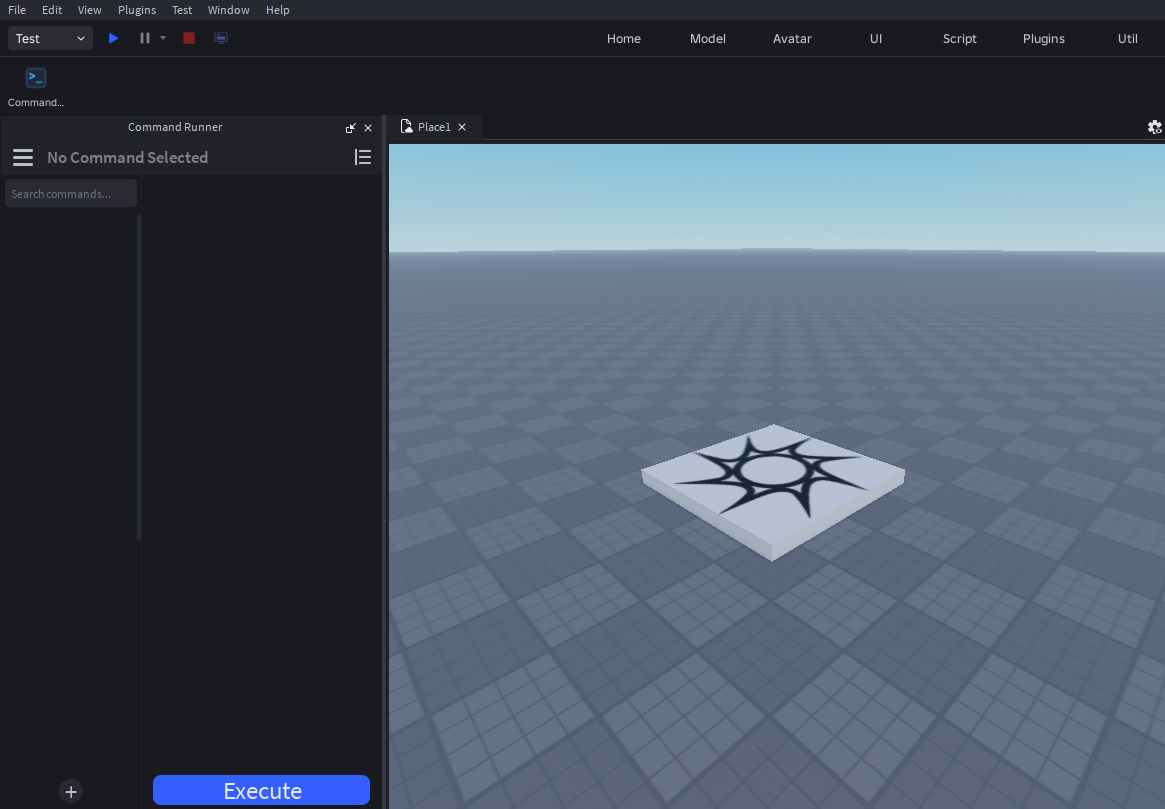
Go ahead and move it to a desired location, personally I like it docked on the left side:
What CommandRunner expects to exist
CommandRunner manages a small handful of containers automatically. You do not need to create these by hand:
| Container | Purpose |
|---|---|
ServerStorage.CommandRunnerScripts | Server-side commands (the canonical home for most commands). |
ReplicatedStorage.CommandRunnerRuntime | Runtime delivery folder for @client-tagged commands. |
ServerStorage.CommandRunnerDebug | Created on demand when a command sets Debug = true. |
If any of these is missing when you click the toolbar button, CommandRunner creates it. Don't rename them; the plugin looks for them by name.
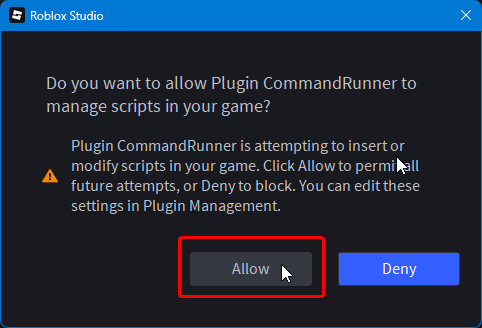
Script Permissions
This plugin creates, manages and edits scripts within the CommandRunner namespace, so script modification permissions prompt may pop up, and you can safely click Allow. Once you click allow, simply re-run whichever operation you were attempting to do.
You're now ready to author your first command. Continue to Your first command.